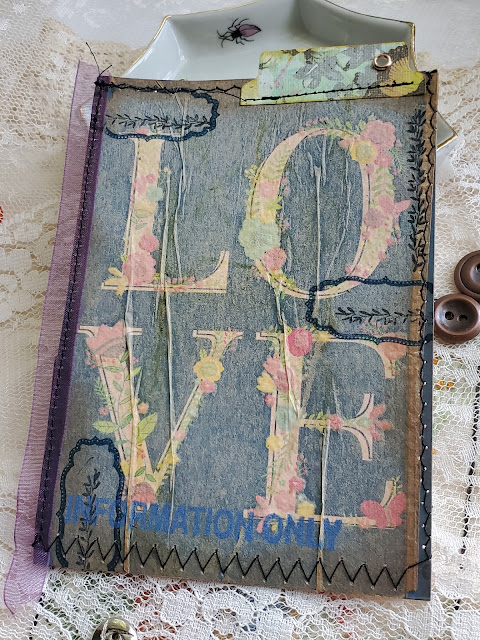
Upcycled Journal Cards

 Hi friends. I wanted to share a fun upcycling project with you today. I followed a YouTube video by Pam at The Paper Outpost for turning used greeting cards into journal cards for your junk journal. Not only is this very fun and easy, but it's also a wonderful way to give a second life to the beautiful notecards you may have from friends, pen-pals, and family members that you don't know what to do with. This idea could also be used to create postcards instead of journal cards. 
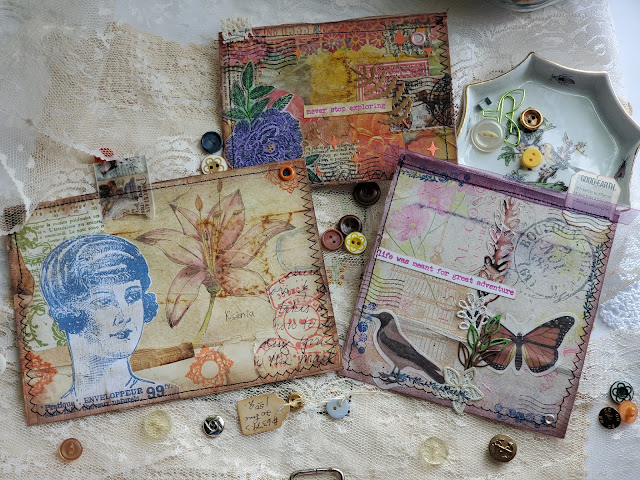
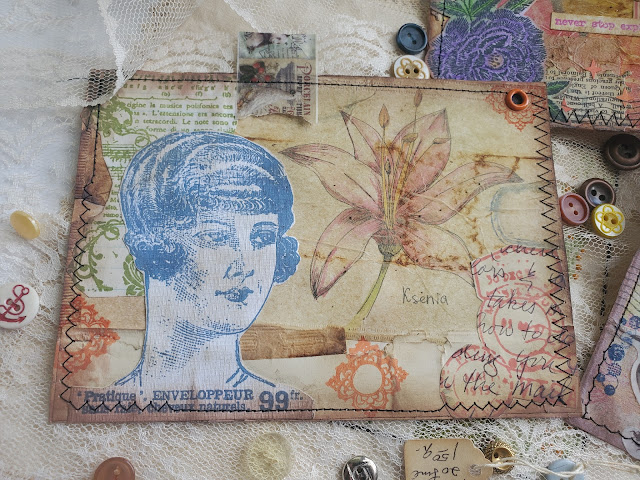
Vintage Journal cards made out of old notecards

So, grab your stash of received happy mail and pick out the cards with images that you like. I wanted to give all my cards an aged look, so after gluing some paper to the back of the card to cover up any writing I decoupaged some used tea bags to the front. 

Once that surface was dry I collaged some images to the front of the cards. I distressed around the edges, front and back with some distressed Oxide in Vintage Photo. 
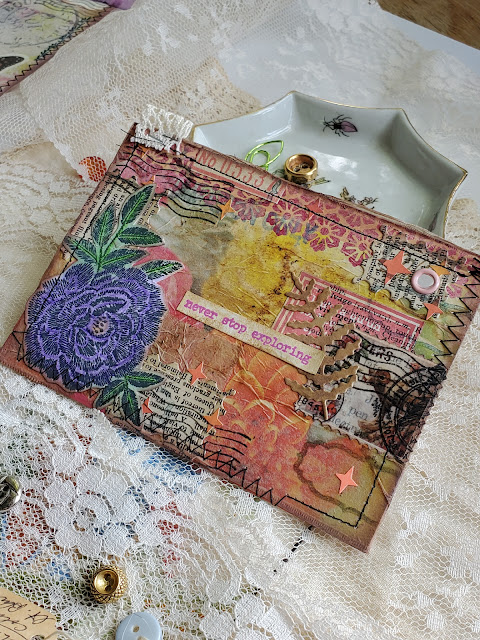
Floral junk journal card made from old notecard.

I also stamped images around the card. For extra details, I added tabs to the cards with my tab punch, washi tape, or scraps of ribbon. Somewhere in this process, I took the cards for a quick spin around my sewing machine alternating the stitch pattern to make it more interesting.  I inserted colorful brads, sewed on a ribbon, and added rivet holes for possible charms to be added later. 
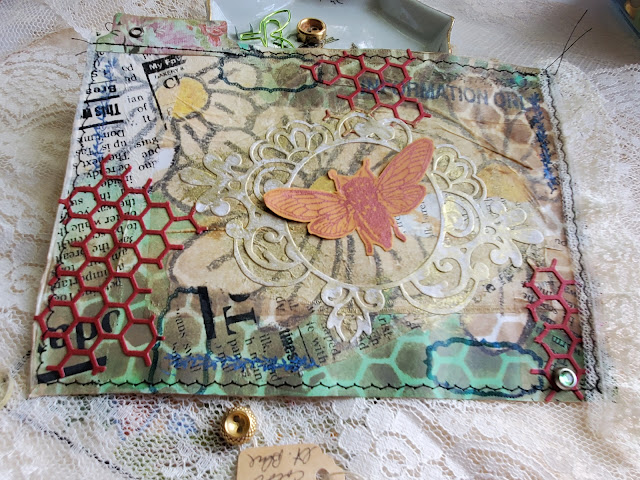
Notecard with tea bags collaged to front. Red honey comb die cut collaged to front with ornate frame centered in middle and honey bee in center of frame.

And that, my friends, is that. I hope you enjoyed this post and will try it for yourself. Share your creations in the comments below.  

Have a beautiful day, thanks for stopping by. 
Comments

Popular posts from this blog

Floral Gold Foiled Greeting Cards

Spellbinders Glimmer of the Month November 2022 Good morning crafty friends. Today I'm sharing with you cards I've made using the Spellbinders glimmer of the month for November 2022, "Glimmer Edge Stylized Floral". One of my favorite features of this month's glimmer plate is that the design is all connected in one piece instead of having separate pieces to manage. This makes foiling and die-cutting a breeze since there's no fussing with aligning all the elements perfectly during the process. You're able to use less foil and cardstock with this design. Thanks, Spellbinders for the efficiency. I also used Spellbinders embossing folder of the month for Nov. 22 to create the background panel. All these cards are A2 size.  Reverse foiling technique colored with distressed oxides. In this first design, I used a reverse foiling technique and a solid plate to pull the leftover image off an already-used piece of foil. I didn't get the foil transfer ...

Tools for New Paper Crafters

Are you a new paper crafter?         Hi crafty friends! If you're here checking out my blog it's because you're a paper enthusiast like me. Today's discussion is for those who are new to the world of paper crafting and are curious about what basic supplies every paper crafter needs in their arsenal to make beautiful pieces they'll love and want to share. Here are my top five supplies or supply groups, that have made all the difference in my creations.      The staples of my craft room are scissors, glues and adhesives, paper, and ink. If you're going to make cards, art journals, collages, or create happy mail you'll need these basic items to get started. Stamps are also another important staple in the craft room, but we'll leave that for another post.  1. Cut   You'll need a large pair of scissors to make bigger cuts for things like taking images out of a magazine. You'll also need a smaller pair for fussy cutting or doing detailed...

Specimen Envelopes

      Good morning my paper-loving friends. I have another upcycle project for you today. I call these specimen envelopes because they feature a clear widow like a slide with a "specimen" in the middle. I've had these envelopes in my stash for a while now. I love them so much, that I haven't been able to part with them. These would make a lovely addition to a happy mail for a pen-pal, a swap, or of course, tucked into a journal. I could also see these tied to the outside of a gift package with a note or a little something extra inside. So, let us get into it.        I used some pages from my German English dictionary for these envelopes. I got out my Gelli plate and swiped some Distressed Oxides onto it and misted it with water before I pressed my paper onto my Gelli plate. If you don't have a Gelli plate a regular craft mat or piece of laminated paper (or any non-porous flat surface) would work just as well. I used my h...