
Hey friends, Happy Valentines day! I hope you're all doing great. I have a quick little project to share with you. I made this embellished postcard to send a lovely swap-bot partner for a homemade postcard swap. If you're into snail mail or need something to do with all your accumulated craft projects check out their website at swap-bot.com.
For this project I started out by grabbing a postcard blank. I bought a bunch of blank postcards from Amazon years ago. They are the exact right dimensions and weight for designing your own postcards and have a blank front.
- The postcard image in purple is Coco and Reno's "snail mail" photopolymer stamp. I stamped the image twice using my Misti stamping tool.
- After putting my base design down I gathered die cuts from my precut stash that would coordinate with the snail mail theme.
- TIP: Accumulate extra die cuts from projects in a die cut stash. I always end up cutting more die cuts then I need when doing projects so I save them in a box for times like this. I can easily put something together without cleaning off my desk and hauling out my die cutting machine. 👅
- I first stuffed the large polka dot envelope with lavender, white and dark purple floral die cuts. The large envelope is mounted with my favorite dollar store foam tape. (Technically it's a dollar twenty five store now).
- I found some tiny doily's in my stash and layered them, one inside the envie and one on the outside.
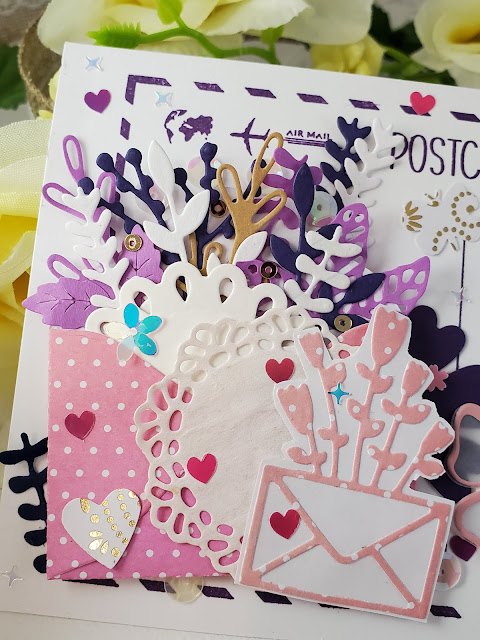
- I put a few floral pieces under the large envelope and added the sealed envie with flowers growing from the top onto the front of the envelope. Looks good!
- Moving to the other side of the card, I added the vellum floral die cuts and butterfly, both from Spellbinders.
- The type writer was the perfect addition to the collection of items and I mounted that with some foam tape. (The large polka dot envelope, smaller sealed envelope and type writer are all coordinating dies with the "snail mail" set from Coco and Reno.)

- The stamp in the upper right corner is pieced together with little pieces from my die cut stash.
- Finishing touches are tiny heart stickers from Pipsticks and a random assortment of sequins from my collection.

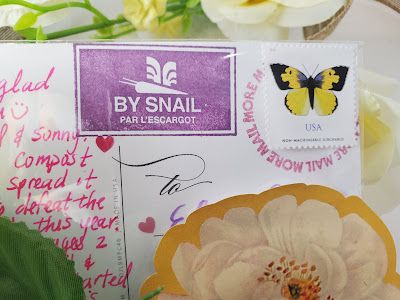
- Now that the postcard is completed, I slipped it into a plastic sleeve to protect it and ensure it gets to it's recipient safely. I added my message, addressed the card and hit it with a few of my favorite rubber stamps I got off a website called buyoly.com. The stamps are opaque because I used a chalk ink. I chose non-machinable postage because I'm assuming the post office will have to handle this card by hand as it would jam up the mail machine. I hope it arrives in one piece!
Thanks so much for checking out my blog today. I hope this has given you some inspiration for your next crafting project.
Comments
Post a Comment