Ephemera folder for Happy Mail and Junk Journals

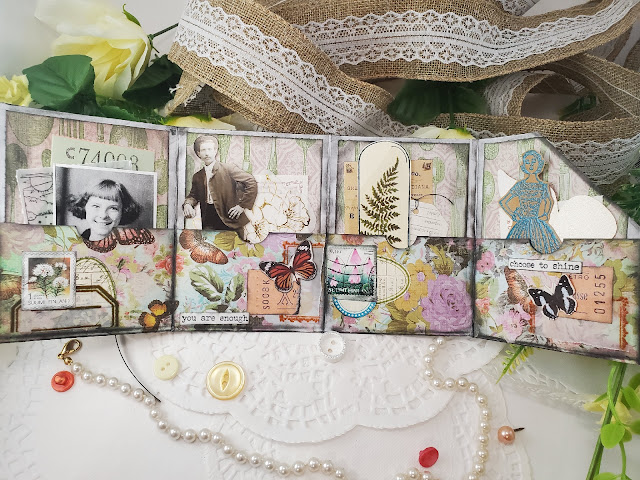
Happy Mother's Day to you! What's happening crafty friends? Are you creating lots of fabulous paper things? I hope so. Today's craft is a very easy and quick piece of ephemera. This folder would be great in a junk journal or tucked into an envelope for a pen pal. It would also be great as a gift card holder for Christmas, Hanukkah, birthdays, or other gift-giving occasions. One gift card for each pocket. That may be coming in another tutorial soon.
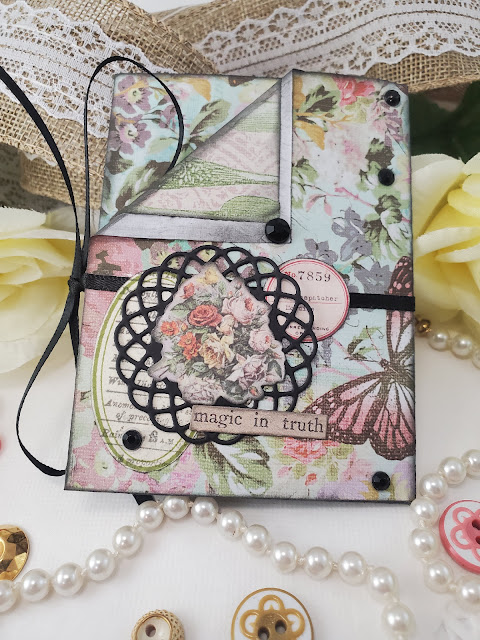
Ephemera folder, vintage for junk journal.
Front of the folder when tied.
Inside of ephemera folder featuring pockets and collaged images.
Inside the folder
To begin construction, measure out a piece of patterned paper, six inches tall and 12 inches wide. You can use double-sided patterned paper or glue two single-sided pieces together. Another option is to go with the single-sided pattern and cover the bare side in later steps, which is what I've chosen to do.
Ephemera pocket folder with TIm Holtz paper doll and collaged images
Tim Holtz ephemera peaking out the pocket. 
After you cut your paper to six inches tall and 12 inches wide, score horizontally along the length of your paper, two inches up (reducing its height). That might sound confusing. You want to have a two-inch pocket that travels horizontally along the length of your paper. So what was previously six inches tall, will now be four inches after scoring with a two-inch pocket. I hope I didn't beat that into the ground.😆 Turn your paper pocket side down. Score vertically along the length of your 12-inch paper, every three inches. So you should score at three, six, and nine inches.
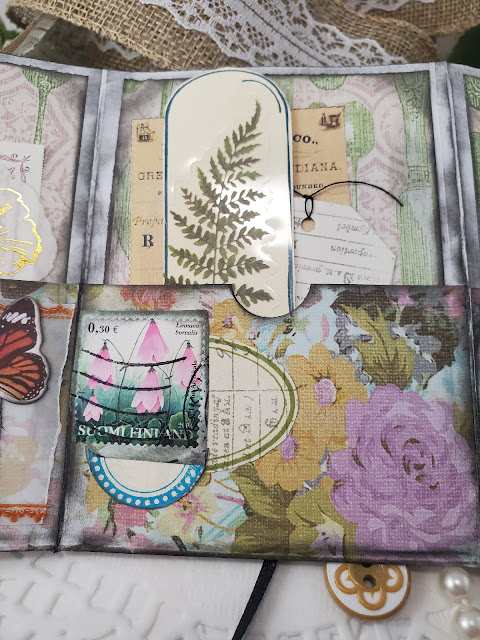
Ephemera folder pocket with stamped terrarium image and fern sticker.
Terrarium dome stamped ephemera.
I cut thumb notches into my pockets using half of a five-eighths inch circle punch. I chose to distress my piece everywhere, on every fold, and on all edges front and back. I have an old black dew drop ink pad that's mostly dried up and so it works great for distressing. To cover the bare spots of paper on the inside of your folder cut out four squares that measure just under three inches across and just under four inches tall. Distress all edges of these squares and glue them into place as a background for each pocket. Cut along the fold of the pocket until you reach where the pocket meets your base and then glue the pocket in place.
Vintage ephemera pocket with smiling girl peaking out.
Ephemera, Ephemera!
You may choose to decorate the pockets as I have. I simply layered ephemera consisting of stamped images, labels, used postage stamps, and ephemeral elements from Tim Holtz. You'll want to decide if and how you'll make a closure for the folder. Do this before decorating the front of your folder. I glued a small black ribbon across the front and on the very back panel of my folder so it could be tied at the side. Some other options might be velcro dots, a paper clip, or simply tying it with baker's twine. Use what works for you. I folded back the top front edge of the pocket and glued it in place before decorating with small pieces of ephemera and finishing it with black jewels.
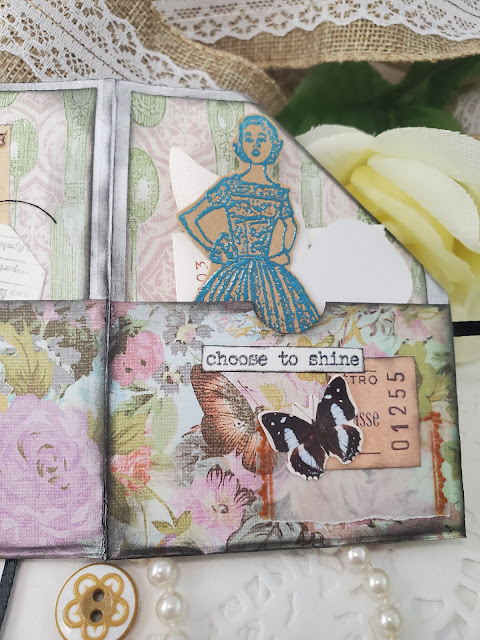
Vintage Ephemera pocket with stamped image of 50's lady.
Embossed 50's lady Ephemera.
 I placed three pieces of ephemera in each pocket for the recipient. Folded up this item is much less than a quarter-inch thick so you can certainly add more to your folder or envelope and still not exceed the maximum thickness to send through the postal system as regular flat mail. This piece will be mailed out to a swap friend. I followed a youtube tutorial by Cathy's garden to create this piece which you can find here. 
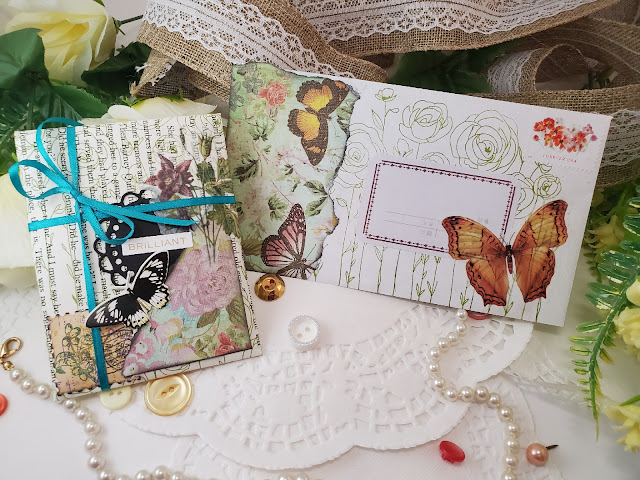
Folder wrapped in book page with decorated elements and a decorated envelope.
All wrapped up and ready to go!
Thank you for checking out today's blog post. Drop questions and comments below. If you enjoy my content feel free to follow me on Instagram @craftinbish. 💗


Comments

Popular posts from this blog

Tools for New Paper Crafters

Are you a new paper crafter?         Hi crafty friends! If you're here checking out my blog it's because you're a paper enthusiast like me. Today's discussion is for those who are new to the world of paper crafting and are curious about what basic supplies every paper crafter needs in their arsenal to make beautiful pieces they'll love and want to share. Here are my top five supplies or supply groups, that have made all the difference in my creations.      The staples of my craft room are scissors, glues and adhesives, paper, and ink. If you're going to make cards, art journals, collages, or create happy mail you'll need these basic items to get started. Stamps are also another important staple in the craft room, but we'll leave that for another post.  1. Cut   You'll need a large pair of scissors to make bigger cuts for things like taking images out of a magazine. You'll also need a smaller pair for fussy cutting or doing detailed cuts in tight

Floral Gold Foiled Greeting Cards

Spellbinders Glimmer of the Month November 2022 Good morning crafty friends. Today I'm sharing with you cards I've made using the Spellbinders glimmer of the month for November 2022, "Glimmer Edge Stylized Floral". One of my favorite features of this month's glimmer plate is that the design is all connected in one piece instead of having separate pieces to manage. This makes foiling and die-cutting a breeze since there's no fussing with aligning all the elements perfectly during the process. You're able to use less foil and cardstock with this design. Thanks, Spellbinders for the efficiency. I also used Spellbinders embossing folder of the month for Nov. 22 to create the background panel. All these cards are A2 size.  Reverse foiling technique colored with distressed oxides. In this first design, I used a reverse foiling technique and a solid plate to pull the leftover image off an already-used piece of foil. I didn't get the foil transfer

“Sew Happy” Card Kit of the Month

Shaker card.  Hey, y’all! I hope everyone is doing well and having lots of fun creating beautiful things. For today's post, I’m backtracking to September 2022 card kit of the month from Spellbinders called “Sew Happy”. This card kit is filled with craft-themed items to create your cards. I made close to 40 cards with all the bits and bobs from the kit!! I'm never disappointed with the value of these card kits.  The card above and below are shaker cards I created using chipboard embroidery hoops included in the kit and a few pieces of acetate from my stash. The card base on top is one from my stash and the base on the bottom is one included in the kit. The only other elements I've added from my supplies are the glitter pieces inside the embroidery hoops and the Pops of Color and Nuvo drops. I appreciate the variety of pieces that are included in the kits because you're able to make cards in so many different styles.  Shaker card. Spellbinders "Sew Happy" Septem