 Happy Saturday you lovely crafters! Just think, a whole weekend to work at your happy desk and create: cut, paste, spackle, paint, sew. . . .or whatever it is that you do to make jolly. I've joined a few swap-bot swaps that I'll be working on and sharing later. I also started an art journal that is strictly for the sake of creating with no "goals" in mind other than to express myself. If I'm being critical of it, so far, it's a hot mess. But, on to the current project I'm sharing.
 |
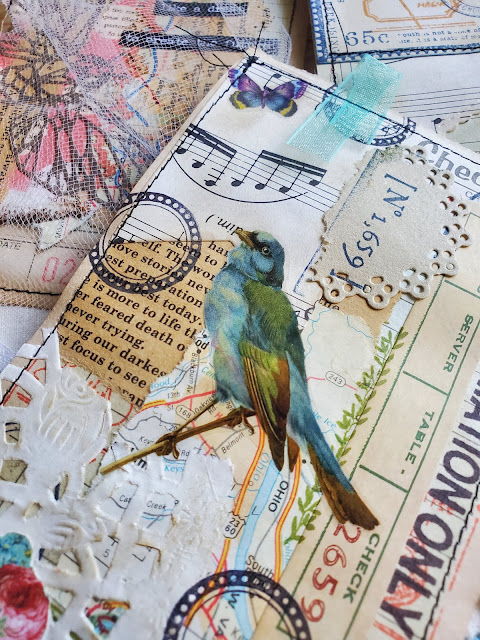
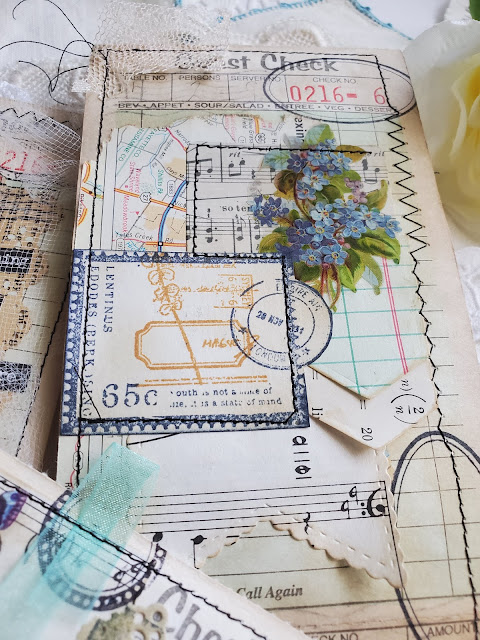
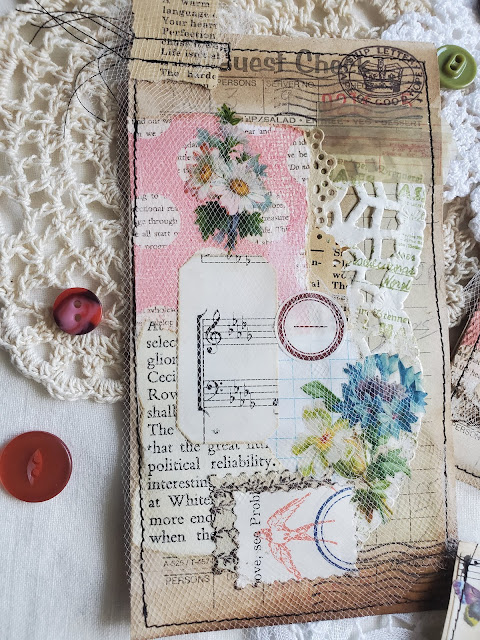
These fun vintage guest checks are great ephemera for junk journals or a tuck-in for a pen pal who loves vintage items. I like guest checks because they remind me of the past. How often do you actually receive an old-school guest check like this in restaurants anymore? My guess is probably not often, as everyone is using thermal tape receipts these days and those aren't that great.
So, let me share my steps in creating these little dandies.
- Tea dye your guest checks. This step is not a must, you can age your checks with some distress inks or oxide or not at all if you're going for a more contemporary look. I threw a whole book of guest checks into my tea dye bucket last time I was tea dying and so I have plenty to use. Also...if you're wondering where to procure these guest checks, I bought a big lot off Amazon.
- Gather paper scraps, die cuts, stickers, lace, ribbon, and fabric and arrange colors and designs that complement each other.
- Distressed around some or all die cuts and paper pieces. This gives an aged appearance to the whole piece.
- Incorporate tools or your favorite products. I used some edge punches on different papers and then layered the different designs. I also used some tiny staples on a different check. Other options could be embossing to add texture, using brads or rivets, or even adding a thread nest under an image.
- When you think you have everything distressed and arranged, glue everything down.
- Tip: When I collage, I loosely arrange how I think my papers should go. When I find a configuration I like I only lay one tiny strip of glue down the center of the paper leaving the perimeter loose so I can tuck papers under the edges if need be. When everything is where I want it, I'll go back through and glue down all the corners.
- Stamp as a finishing technique. I like using rubber stamps throughout the whole process both before college and after. Stamping to finish your piece helps to fill blank spaces and can help give direction or flow to your piece.
- Lastly, sew around or through your guest checks. I also added the tabs onto the top in this step. Some are ribbons and others are more paper scraps with tulle layered over top. If you don't have a sewing machine or one that you want to use to sew paper, you could always attempt hand stitching or just staple on your tabs and make stitches with a black gel pen. You can use a quick-drying glue like fabrifix or fabritac if you'd like to add any fabric or tulle.


Comments
Post a Comment