 |
| Interior of Snail mail folder |
you check it out.
Embellished Folder
The patterned paper of the folder base and coordinating question tag has been pulled from a hot buy paper stack I recently purchased from Michaels at a clearance price of five dollars. (Love me some clearance sales).
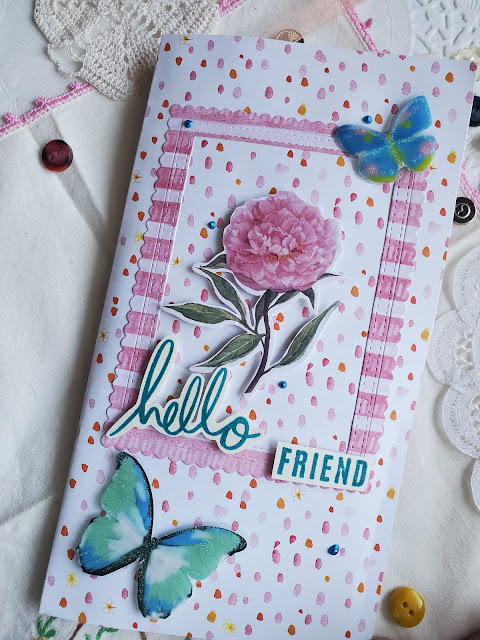
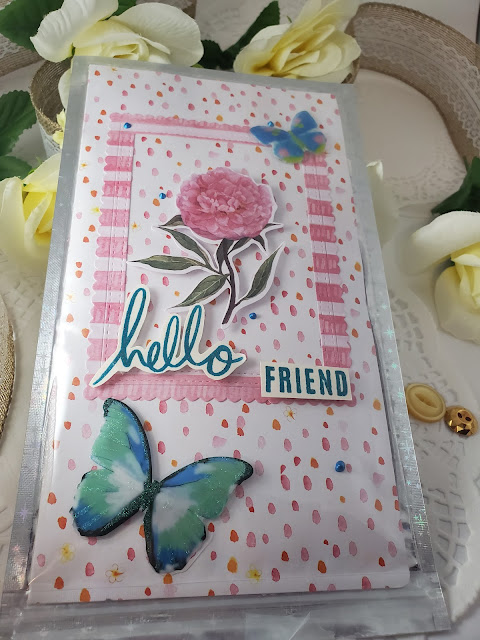
- I began by pulling out the polka dot type pattern and sizing it down to fit in my upcycled Pipsticks envelope. I did have to widen the opening of the Pipsticks envelope a bit with a craft knife to fit in my folder properly, as the zipper seal makes the mouth more narrow than its interior.
- Next I die cut a frame from the coordinating paper. I embellished the frame with flowers and butterflies which were leftover from my Spellbinders card kit of the month for December 2021. I highly recommend these card kits. Check them out on their website.
- After I affixed the embellishments I hit the design with a stamped and embossed sentiment from my stash. I finished off this arrangement with some dark blue pops of color and set it aside to dry.
- When they dried, (the next morning) I heat embossed stamped images from my card kit on the inside of the folder with some blue glitter embossing powder. I also embellished the bottom of my folder using a die from my stash to cut a doily and affix embellishments to it from the card kit. The butterfly has been cut using dies included in the card kit.
 |
| Mail Tag with questions on reverse |
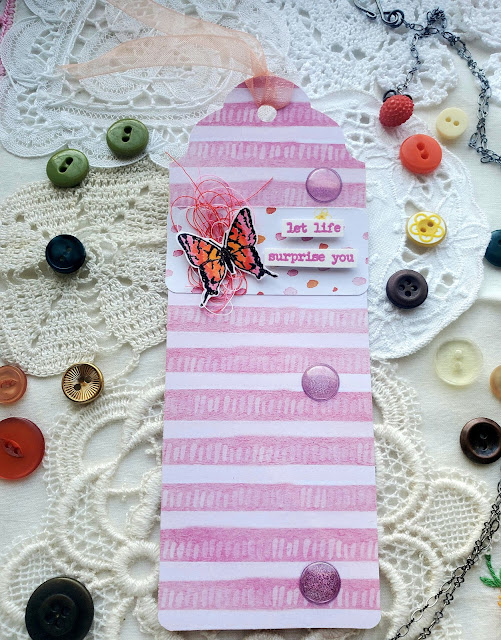
Question tag
Using the same paper I die cut my frame out of, I whipped up an embellished tag with questions for my pen pal on the back. Question tags are a fun way to learn more about your pen pal and keep the conversation going. Since my pen pal is a dancer one of the questions I asked pertained to Kevin Bacon's warehouse dance montage in the movie Footloose. Could you do those dance moves? Okay, back to the tag.
- I made a small label and rounded its corners for some contrast and slapped it on.
- Using the stamps I received in my Spellbinders card kit, I heat embossed a butterfly and colored it in with pencils from Jane Davenport.
- I made a nest for my butterfly to rest in with color coordinating thread and attached it all with copious amounts of glue.
- TIP: Adding thread nests, lace, ribbon, and fabric scraps is a great way to add intrigue and draw the eye to any paper project.
- I finished the tag off with a heat embossed the sentiment from Tim Holtz stampers anonymous collection and affixed three dommed pink embellishments from the dollar tree in a line down the side of the tag.
- Tip: Use a lined sticky note to write your questions on so your pen pal can remove it and answer on the back for an easy reply. They can then use the tag in their journals or pass it on to another pen pal!
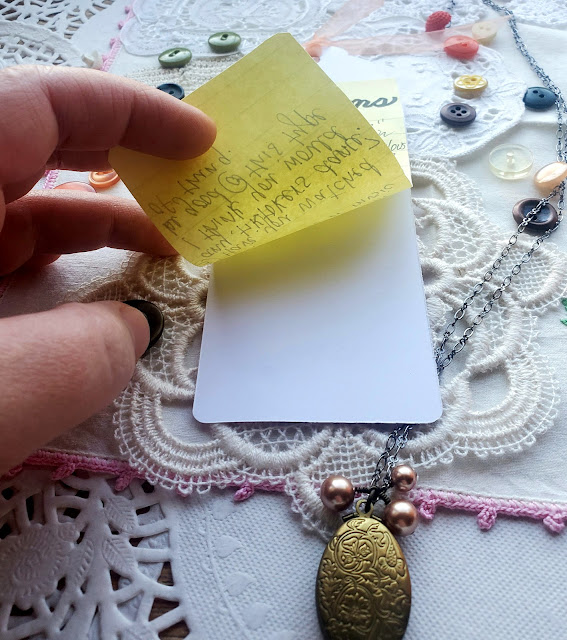 |
| using sticky notes on the back |
Letter and Vellum Envelope.
I often make my own stationery on any old lined paper by stamping images and coloring them in, which is exactly what I did here.
- I used the stamps from the card kit collection and some colored pencils.
- The vellum envelope (holds letter) has been stamped with images from the card kit using Tim Holtz distressed oxide in shades, picked raspberry, and wild honey.
- I heated the images with WOW clear embossing powder. Vellum can be tricky to heat emboss.
- TIP: keep your heat source moving constantly and DO heat images from the front and back of the paper.
- I cut and folded the envie, then sealed it up with some double-sided tape adhesive from the card kit.
Heat embossed vellum envelope for my pen friend.
 |
| Fun goodies in snail mail envie. |
Goodies
This Happy Mail wouldn't be quite as happy without an assortment of tuck-ins for my pen pal.
- I repurposed some plastic packaging from my card kit to contain these bobs and bits and then wrapped it up smartly with a doily from the dollar store.
- The belly band is an offcut of my vellum envie that happened to work just perfectly here.
- I used a pastel brush pen from LePen to write the word goodies. Because my lettering skills need improvement, I find Lepen's brush pens act as training wheels of a sort to help me achieve a polished look.
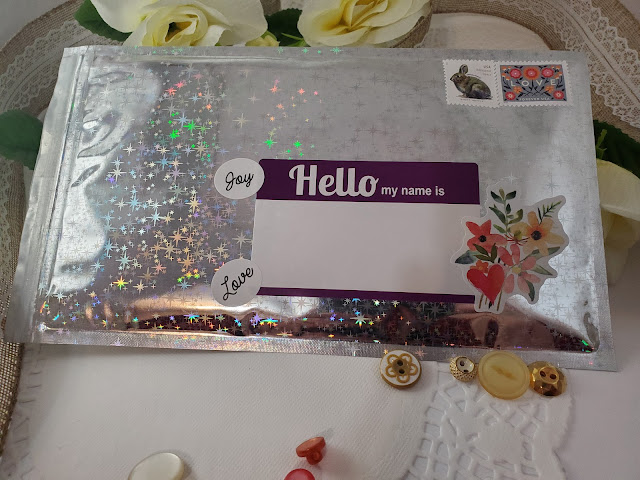
Finally, I packaged it all up and put it on the appropriate postage. Because it weighed 1.94 ounces I used this one-ounce LOVE stamp and a bunny stamp for an additional ounce.
And that's that! Thanks for joining me today for this fun project. Follow my Instagram for more fun content. I hope you're inspired to create something fantastic for your pen pal or loved one. 💓


Comments
Post a Comment